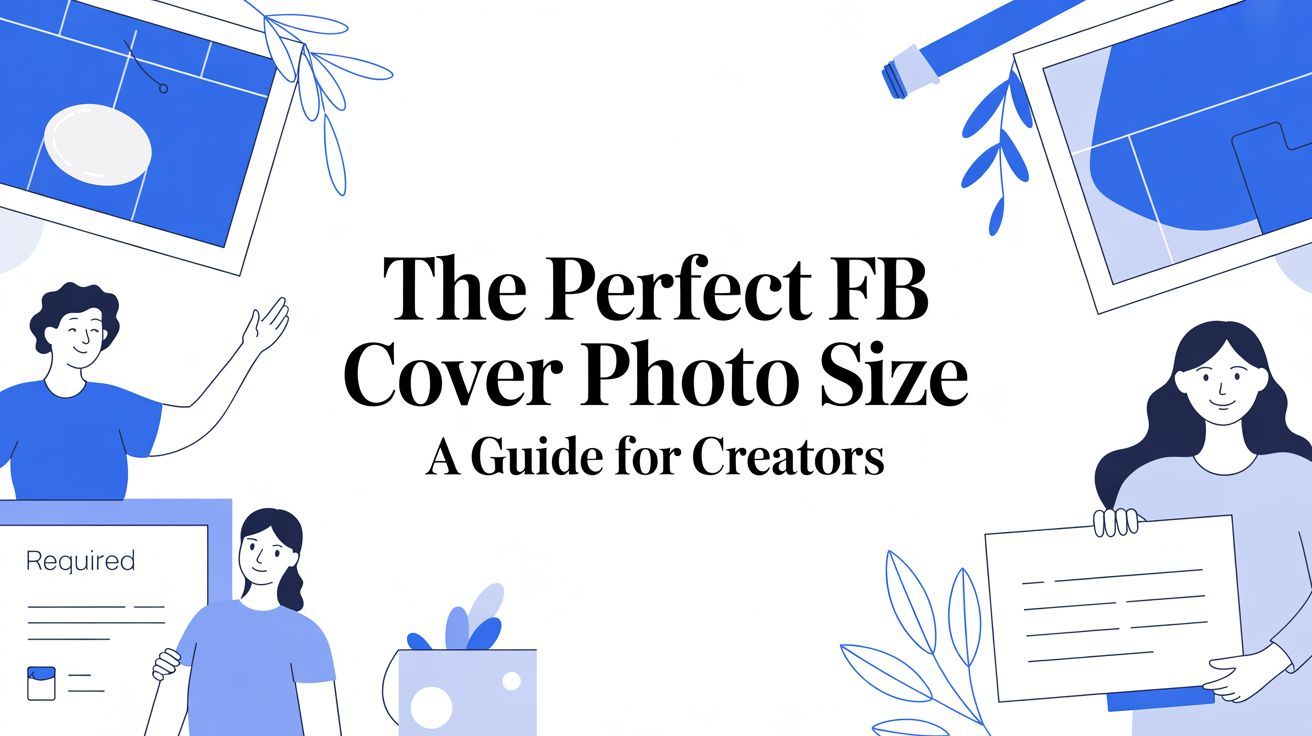
The Perfect FB Cover Photo Size: A Guide for Creators
Master the correct fb cover photo size for desktop and mobile. Our guide explains dimensions, safe zones, and tips for a professional Facebook presence.
On this page (18)
For the best results, your Facebook cover photo should be 820 pixels wide by 360 pixels tall. This is the magic number. It ensures your design works well across both desktop and mobile, but there's a catch: you have to keep your main content, like text and logos, within a central "safe zone" to avoid it getting cut off.
Getting Your Facebook Cover Photo Size Right The First Time
Think of your Facebook cover photo as the giant welcome mat for your page. It’s the very first thing people see, making it some of the most valuable digital real estate you own.
But trying to nail the correct fb cover photo size can feel like hitting a moving target. What looks perfect on your big desktop monitor can get awkwardly cropped on a phone. That’s because Facebook doesn’t just shrink your image down; it selectively crops it depending on the screen. To sidestep the frustration, you need one master canvas size that plays nice with both views.
Facebook Cover Photo Dimensions At a Glance
To make this super simple, here's a quick reference table with the specs you'll need. These are the numbers we use every day to keep our clients' pages looking sharp and professional.
| Attribute | Recommendation | Reasoning |
|---|---|---|
| Ideal Dimensions | 820px wide by 360px tall | This size is the sweet spot that accounts for both desktop (820x312) and mobile (640x360) cropping. |
| File Format | JPG or PNG | Use a JPG for photos. If your cover has sharp text or a logo, a PNG will keep it looking crisp. |
| File Size | Under 100 KB | This ensures your cover photo loads instantly, so visitors aren't left staring at a blank space. |
| Mobile Safe Zone | Central 640px by 360px | Keep all your must-see stuff, text, logos, faces, inside this middle area to guarantee it shows up on phones. |
Start with these foundational numbers, and you'll set yourself up for a great first impression, every single time. And if you want to go deeper on all the different image specs, our complete guide on Facebook image sizes has you covered.
Why Your Cover Photo Looks Different on Desktop and Mobile
Ever spent ages crafting the perfect cover photo on your computer, only to check it on your phone and see the edges mercilessly chopped off? It’s a very common headache, but there’s a simple explanation for it. Facebook doesn't just shrink your image for smaller screens; it completely changes the window you’re looking through.
Think of your full cover photo like a wide, panoramic shot. On a desktop, Facebook shows you a wide and short slice of that scene. But on a mobile device, it zooms in and shows you a tall, narrow slice right from the center. This means the sides of your image get trimmed on mobile, while the top and bottom get the chop on desktop.
Because of this, you can't have one design where every single pixel is visible on every device. The trick is to design for the full canvas but place all your important stuff into a "safe zone" that shows up everywhere.
Understanding the Safe Zone Concept
The safe zone is just that, the central part of your cover photo that stays visible whether someone is on their laptop or scrolling on their phone. Any text, logos, or key visuals you place outside this area are at risk of being cut off.
Nailing the fb cover photo size and its safe zones is crucial for looking professional. It’s a small detail that makes a big difference. For a deeper look into why a unified look matters, learning about brand consistency offers some great insights into how your audience perceives these details.
Here’s a simple breakdown of the specs you need to remember.
This image hits on the three pillars of a perfect cover photo: the dimensions, file type, and file size. Get these right, and you’re already halfway to a crisp, correctly displayed image.
How to Stay Safe on Every Screen
So, how do you actually use this information? It's pretty straightforward. Design your cover photo at the ideal size of 820 pixels wide by 360 pixels tall. Then, just imagine a smaller box right in the middle that’s 640 pixels wide by 360 pixels tall. That central area is your mobile-safe zone.
By keeping all your essential info, like text, calls-to-action, and logos, inside this mobile-safe area, you guarantee your main message will always get through. This one habit will save you countless hours of re-editing and re-uploading.
Tools like PostFast often have built-in guides or templates that make visualizing these safe zones easy, letting you focus on the creative side without sweating the technical details. And just as your cover photo is your page's billboard, your profile picture needs to be on point, too; our guide covers the exact specs for a perfect Facebook profile picture. Pay attention to both, and you'll lock in a cohesive and professional first impression.
A Step-by-Step Guide to Creating the Perfect Cover Photo
Knowing the theory is great, but putting it into practice is what actually works. Here’s a walkthrough for designing a Facebook cover photo that looks sharp every single time, without any frustrating cropping surprises.
It all starts with getting your canvas set up correctly. The recommended size you’ll want to work with is 820 x 360 pixels. This isn't just a random number; it’s the sweet spot that accommodates both desktop (820 x 312 pixels) and mobile displays (640 x 360 pixels), ensuring your key elements are always visible.
Setting Up Your Design File
Whether you're in Canva, Photoshop, or an all-in-one tool like PostFast, the first step is identical. Create a new canvas that is 820 pixels wide by 360 pixels tall. This gives you the full working area Facebook uses behind the scenes.
Next, you need to map out your mobile-safe zone. The easiest way is to draw a temporary rectangle right in the center of your canvas measuring 640 pixels wide by 360 pixels tall. This central area is where everything important must live.
Think of the areas outside this central box as a 'bleed' zone. It’s useful for framing your design on wide desktop screens, but never put logos, text, or a person's face there. It’ll get chopped off on mobile.
Once you have that guide, you can start designing. If you want to skip the setup and ensure your dimensions are always right, you can use professional social media graphics templates that have these safe zones built-in.
Designing and Exporting for Quality
With your canvas and guides ready, it’s time to get creative. A few best practices will make a huge difference:
- Use High-Resolution Imagery: Always start with a high-quality photo or graphic. A fuzzy image will only look worse after Facebook adds its own compression.
- Keep Text Minimal: Your cover photo isn't a brochure. Use short, bold text to get your message across quickly. Make sure it's big enough to be easily read on a small phone screen.
- Align with Your Brand: Your cover photo should instantly feel like you. Stick to your brand colors, fonts, and overall style to keep things looking cohesive.
When you're happy with the design, the final step is exporting it correctly. For photos, saving as a JPG usually works best. If your design has sharp text or logos, export it as a PNG to keep the lines crisp and avoid pixelation. Try to keep the final file size under 100 KB to make sure it loads quickly for everyone.
Creative Ideas and Examples for Your Cover Photo
Alright, you’ve mastered the technical side of the Facebook cover photo size. Now for the fun part: making it work for you. Think of this space as a digital billboard, not just a pretty picture. It’s your first and best chance to tell a story, drive an action, or just make a killer first impression.
Don’t just set it and forget it. The smartest brands treat their cover photo as a dynamic part of their marketing. They switch it up to reflect new campaigns, seasonal promotions, or big company news. It's an incredibly versatile asset when you use it right.
Strategies for an Effective Cover Photo
Feeling stuck on what to put there? Let’s look at a few proven strategies that successful brands use to turn their cover space into a marketing workhorse. Each approach has a different goal, so pick the one that fits what you’re trying to achieve right now.
A few powerful ideas include:
- Showcase Your Product in Action: Ditch the boring product shot on a white background. Use a sharp, lifestyle photo showing real people enjoying what you sell. It helps potential customers picture themselves using your product.
- Announce an Upcoming Event: Got a webinar, a live sale, or a special event coming up? Your cover photo is the perfect spot to shout about it. Make sure to include the date, time, and a headline that grabs attention.
- Feature Your Team: Put a face to the name. Showing the real people behind your business, whether it’s a great team photo or a collage of employees at work, builds trust and makes your brand feel more human.
- Drive a Specific Action: Use your cover to tell visitors exactly what to do next. Add simple text like "Shop Our New Collection" or "Download Our Free Guide" with an arrow pointing right down to your page's call-to-action button.
Your cover photo isn't just an image; it's a strategic tool. By aligning it with a clear goal, you can guide visitors towards the actions that matter most to your business, turning passive viewers into active participants.
Putting Ideas into Practice
Let’s make this real. Imagine a local coffee shop. In autumn, they could swap their cover to announce a "Pumpkin Spice Latte Launch." A software company might feature a clean graphic celebrating its latest award for "Best Customer Service." An e-commerce brand could show off a vibrant collage of user-generated photos, giving a nod to its community.
The key is to keep it fresh and relevant. You can easily plan these updates in a content calendar using a tool like PostFast, which ensures your page never looks stale. For more on building a winning strategy, check out our complete guide to succeeding on Facebook in 2026. This simple shift in thinking transforms your cover from a static banner into a powerful, goal-driven marketing asset.
Troubleshooting Common Cover Photo Problems
You’ve followed all the rules, but your Facebook cover photo still looks… off. It happens. A perfectly sharp image on your computer suddenly goes blurry after uploading, or your carefully placed logo gets awkwardly chopped off.
Don’t worry. These are incredibly common issues, and the fixes are usually straightforward.
Most problems come down to three culprits: compression, unexpected cropping, or a simple upload failure. Once you understand why each one happens, you can solve it for good and get your page looking sharp.
Why Your Cover Photo Looks Blurry
This is the big one. You upload a crisp image, and Facebook turns it into a pixelated mess. This is almost always caused by Facebook's aggressive image compression, which shrinks your file size to help pages load faster for everyone.
The trick is to give Facebook a high-quality file to begin with, so there’s less for its algorithm to ruin.
- Export as a PNG: If your cover has any text, logos, or sharp graphic elements, a PNG file will keep those edges clean. A JPG tends to smudge the details.
- Check the File Size: You want to stay under 100 KB to keep things speedy, but don't go too small. An image that's tiny to begin with (like under 30 KB) is probably already over-compressed. Aim for a high-quality export that lands close to that 100 KB mark.
- Start with a High-Resolution Image: Never, ever stretch a small photo to fit the cover dimensions. You have to start with a large, crisp source image.
When Your Photo Is Still Cropped Incorrectly
You designed everything perfectly inside the safe zones, but something is still getting cut off on mobile or desktop. This usually happens when you upload an image that isn't the recommended 820 x 360 pixels.
If you upload an image that’s taller or wider than the standard fb cover photo size, Facebook will automatically crop it to fit. That crop can completely ignore the safe zones you planned for. Always start your design on an 820 x 360 pixel canvas.
Sometimes, a tiny nudge is all it takes. After you upload your image, Facebook lets you drag it up or down to reposition it. This little adjustment step can often fix minor alignment issues right before you hit save.
If you’re tired of the upload-and-check cycle, a tool like PostFast lets you pre-visualize how your cover will look on different devices before you even upload it.
Got Questions About Facebook Cover Photos?
You’re not alone. Getting the technical details right can feel a bit fiddly, but once you know the core specs, you're set. Here are quick answers to the most common questions we hear about cover photos.
What’s the Best FB Cover Photo Size to Use?
Always design your cover photo at 820 pixels wide by 360 pixels tall.
This size is the sweet spot. It accounts for how Facebook crops the image on desktop (where it shows as 820 x 312) and on mobile (where it shows as 640 x 360). Sticking to 820 x 360 ensures nothing important gets chopped off, no matter where people see it.
Can I Use a Video for My Facebook Cover?
Yes, and you absolutely should if it fits your brand. A cover video is a fantastic way to grab attention right away.
The video needs to be at least 820 x 312 pixels, though we recommend 820 x 462 pixels for a crisper look.
Just keep a couple of things in mind:
- Length: Your video must be between 20 and 90 seconds long.
- Sound: Videos autoplay on mute. Make sure your visuals tell the full story without needing any audio.
How Often Should I Change My Facebook Cover Photo?
There’s no hard-and-fast rule, but it's smart to treat your cover photo as prime marketing real estate, not a static banner you set and forget.
A good rhythm is to update it quarterly or whenever you have a big announcement. Think new product launches, seasonal campaigns, or an upcoming event. Keeping it fresh signals to your audience that your page is active and worth following.
Planning these updates in advance helps you maintain a dynamic presence and keeps your audience clued in on what's new.
Juggling all these visual updates across different pages can quickly fill up your calendar. With PostFast, you can schedule your cover photo changes and all your other content way ahead of time, ensuring your brand always looks polished and timely. See how much time you can save.
Related articles

How to Automate Social Media Posts: The Practical Guide
Learn how to automate social media posts the right way: what to automate, what to keep human, a step by step afternoon setup, and where AI helps or hurts.

How to Automate Social Media Posting with n8n (Free Templates + Verified Node)
Automate social media posting with n8n: install the verified PostFast node, start from free templates, upload media, schedule carousels, and add approval.

Best AI Tools for Social Media Management in 2026 (Honest Guide)
The best AI tools for social media management in 2026: honest picks for drafting, scheduling and agent-run workflows, plus copy-paste ChatGPT prompts.

10 Ways to Make Money with AI in 2026 (Ranked by Realism)
The ways to make money with AI in 2026 that actually work, ranked by realism: AI-powered services, content systems, products and the traps to skip.

How to Make Money on Social Media in 2026: 8 Models That Actually Pay
How to make money on social media in 2026: the 8 income models, real platform payout thresholds compared, and the consistency math behind creators who earn.

How to Make Money on Instagram in 2026 (Real Numbers, No Hype)
How to make money on Instagram in 2026: the real follower thresholds for gifts and subscriptions, why brand deals pay most, and the math at every audience size.